Step 2 - after carefully ironing the fabric next comes cutting out. It is worth taking your time with this step. If the fabric is neatly cut then the following stages are much easier. You need an inner and outer fabric of the same sizes (about 19 x 11 inches or thereabouts), plus fabric for the pen slots (about 13 x 7 inches)

Step 3. Take the piece of fabric you will be using to form the pen slots. Fold over about 0.5 to 0.75 cm and iron this flat. Then sew two parallel lines to secure the top edge. Sometimes I add cotton webbing to reinforce this, depending on the fabric. The pen clips will be pushed over this so it needs to be strong enough to take a bit of wear.
Step 4. Turn the pen slot fabric over to the wrong side with the edge you have just sewn to the top. You now need to fold over the right hand edge and iron this flat.

Noticing that I have subtly changed pen wraps mid way through, we move on to step 5.
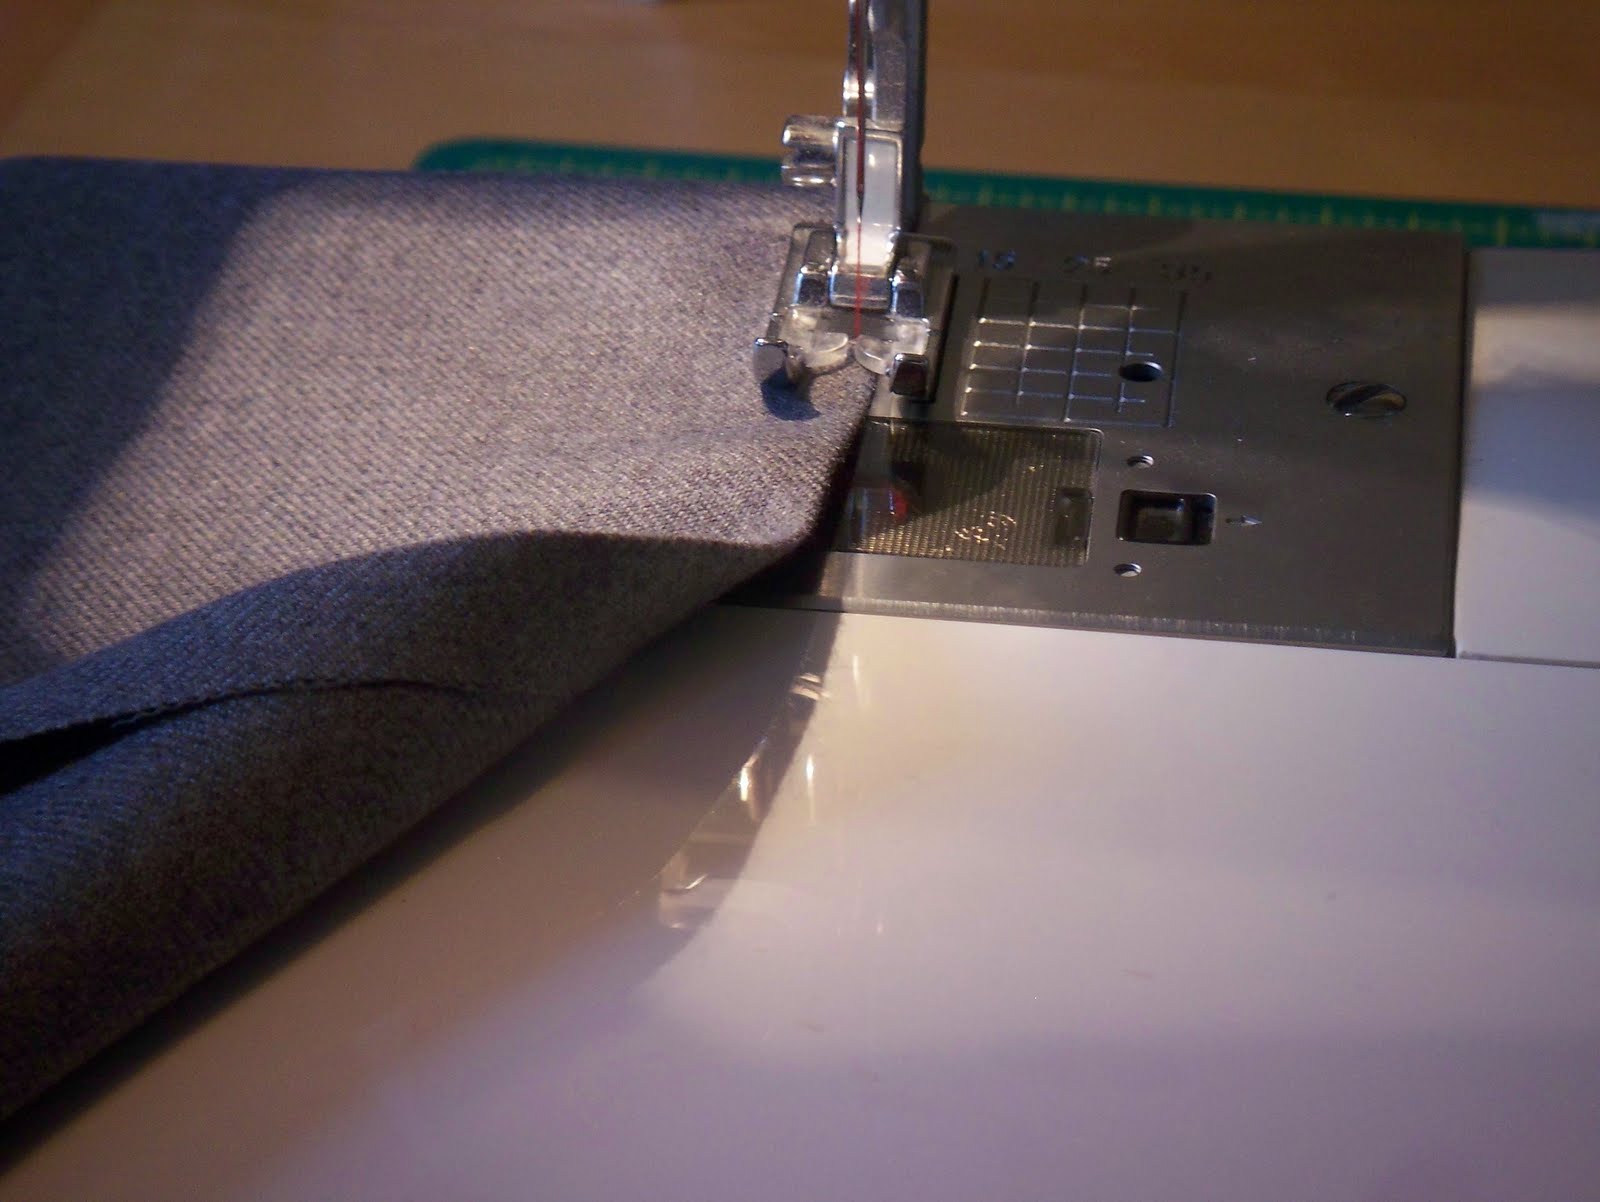
Step 5 - the left hand edge of the pen slot needs to be sewn onto the inner fabric. Line up the bottom edges of the two fabrics, allowing a more or less equal amount of fabric either side of the slots. The main body of the fabric is wider than the pen slots to allow the fabric to fold over the pens, thus giving them some protection.

Step 6 - Even in the process of making these wraps I have amended my process slightly. I now sew in the wadding at this stage, sewing it onto the inner fabric, beneath where the pen slots will sit. Once the pen slots are sewn on you will not see this line of sewing.
Step 7 - The pen slots. This is a bit fiddly. I have tried a couple of different methods - you will need to experiment and see which you prefer. Now I use pins placed so they line up with the lines of sewing. This takes time to place them reasonably accurately. The downside is you need to pull them out as you sew which can mean a bit of stopping and starting. I have tried using thin paper with printed lines. This is quick at this stage and is very accurate (providing you do sew along the lines!), but it is fiddly after removing the paper. Maybe I just never found the right paper but I found myself spending ages pulling out tiny scraps of paper stuck under the thread.

Step 8 - take a break, eat some biscuits, you need your energy.

Step 9 - sew the pen slot lines very very carefully, especially if the sewing thread shows up really clearly, or the fabric has clear lines in the pattern.


Step 10 - attach the wrapping cord by sewing this to the right hand side of the inner fabric.

Step 11 - pin the layers together and shape the two top corners. I am sure that many sewers of a classical disposition will turn pale and faint but I just pin stuff together and sew. I rarely go for all of that tacking malarky. It was probably my upbringing. So, the inner and outer fabrics need to be placed back to back (checking things are the correct way round if you have a specific pattern) and if the wadding is not yet on then this needs to go into the pile too. I used to used wadding the same size as the whole outer fabric but now I use it the same width but only to the height of the pen slots.

Step 12 - If you want curved corners I find now is the best moment to cut them as you can get them more accurate. So everything is pinned, you have made sure the wrapping cord is tucked out of the way and won't get sewn into a seam by mistake, and we are ready for nearly the last bit of stitching.

Step 13 - sewn nearly all the way round leaving a gap so you can turn it all the right way round and finish off.

Step 14 - turn the right way round, carefully pushing out the corners and press. This gives you a chance to ease the fabric into the right positions for the final seam round the edge - i.e so that you don't have a huge piece of the inner fabric showing over the top of the outer.
Step 15 - sew a final seam all around the wrap. This gives it a bit of extra strength and makes it all nice and neat.

Step 16 - feel darned proud of yourself!


3 comments:
Lovely to see you are still about.You ought to put this as a pdf on Etsy and sell it as a downloadable pattern .
Really well explained. Love the fabrics you've used. Brilliant!
Good tutorial - esp liked step 8 - hope these are going well for you.
Post a Comment